In this lesson, we will learn how to change the font in Outlook.
How to change the font in Outlook
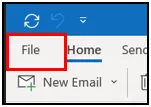
First, from the bar at the top, we choose “File”. Then we choose “Options”.
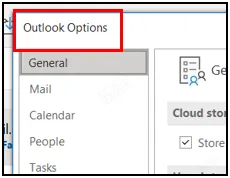
Then to modify the font, we have the option “Stationary and Fonts”.
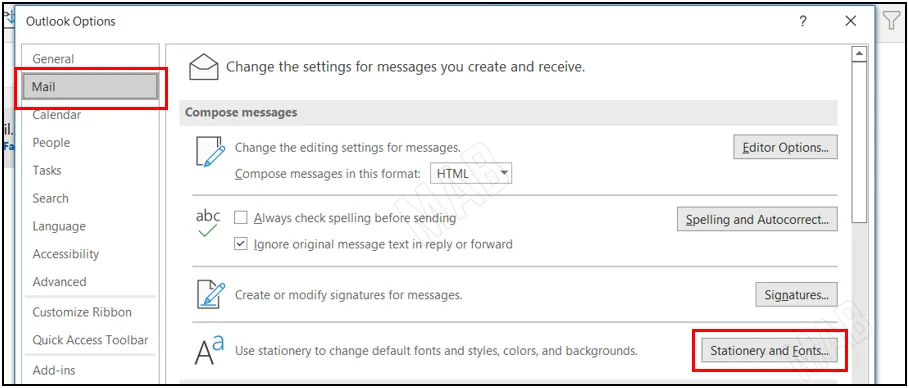
Changing the font for new messages
In this example, we will choose the first “Font” because we want to change the font for new messages.
From the banner, we have the following options:
- First, “Font” to select the font type.
- Then “Font Style” which selects the font style (italic, bold …).
- After that we have the option “Size” to select the font size.

If we choose the font type “Times New Roman” for example, then the style “Regular”, and the font size “14”, then we can see the result from below and preview the font before using it.
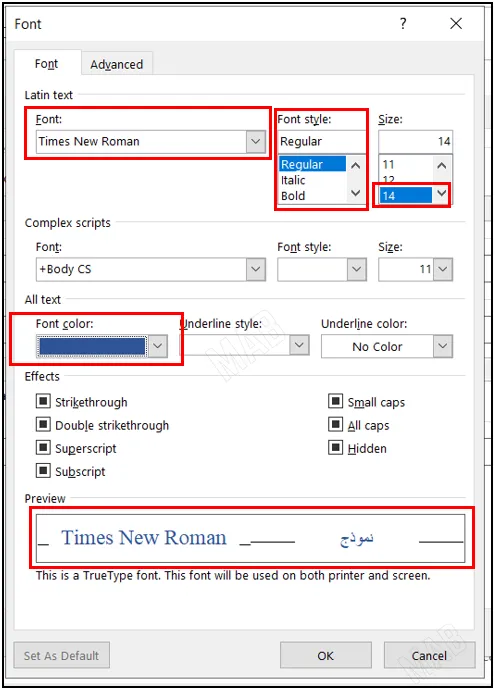
In addition, we can change the font color from “Font Color” and make the font of the new message different from the font of the forwarded message. Likewise, we can make the font of the new message different from the font of the reply message. In this way, we can distinguish between different messages using the font color.
Finally, to save the changes we choose “Ok”.
Changing the font for reply and forwarded messages
In the previous example and explanation, we changed the font for new messages only, but to change the font for the reply and forwarded messages, we choose the second “Font” option.
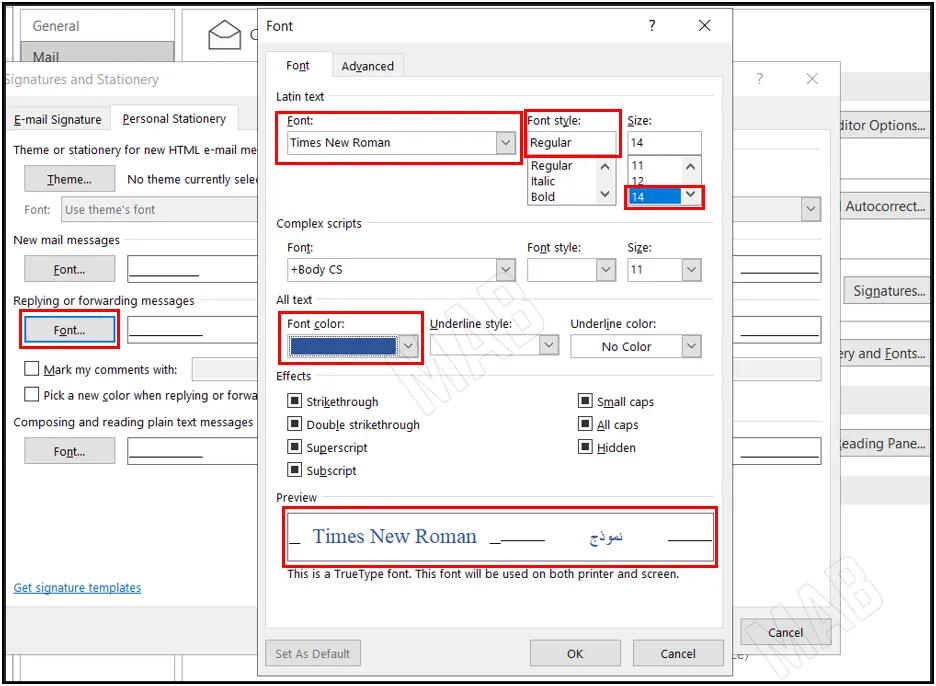
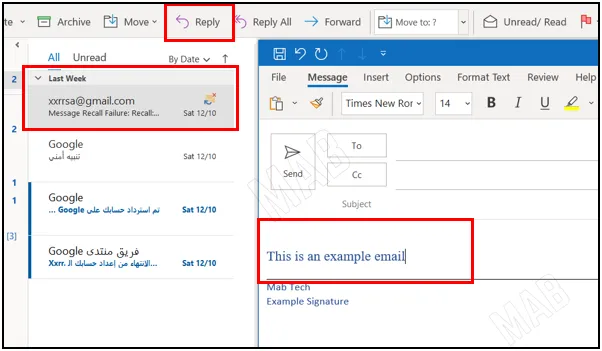
Then we will choose “Ok” for all, so if we choose to create a new email, we will notice that the writing color has changed to blue. In addition to changing the font size and font type as well, exactly as we chose. Thus, the modification was successful.
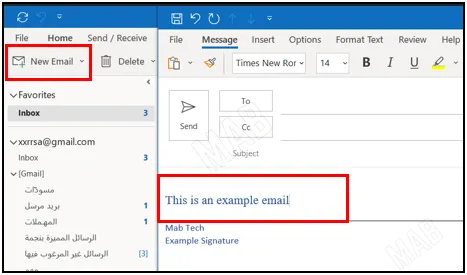
Similarly, if we create a reply email, the situation will be the same; in other words, the same modifications we chose will appear.
Dear reader, if you liked the article, do not forget to subscribe to our YouTube channel, which provides all new in the field of technical and completely free training courses.
You can also browse our website to access the blog and read technical topics, or learn about the training courses offered by the site.
To access the full course “Outlook Course” on YouTube, click here.
