In this lesson, we will learn how to create a new or more than one contact group in Outlook. In addition to how to use the options that accompany this process.
One of the ways that makes using Outlook easier is to create an email contact group, if you have a group of emails that you always send the same message to, so you do not select each email individually every time.
From the top, we choose “New Items”.
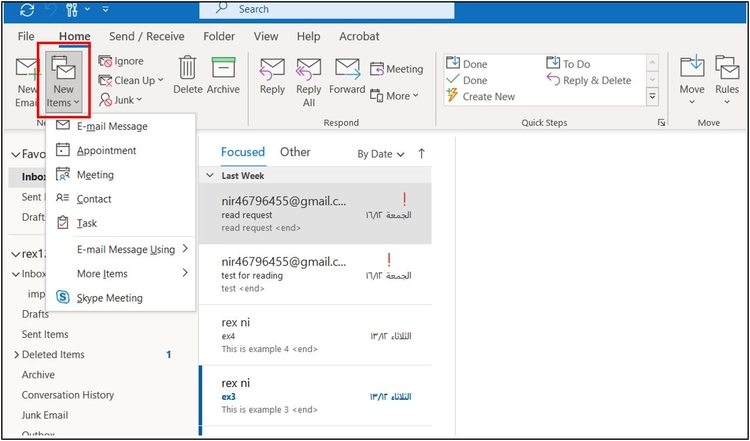
We choose “More Items”.
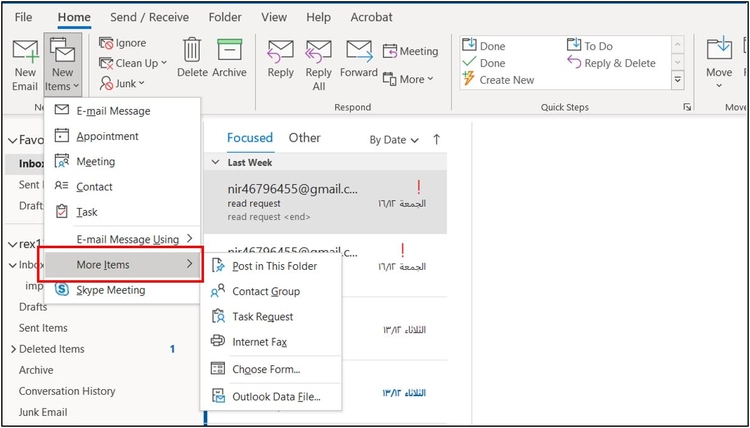
We choose “Contact Group”.
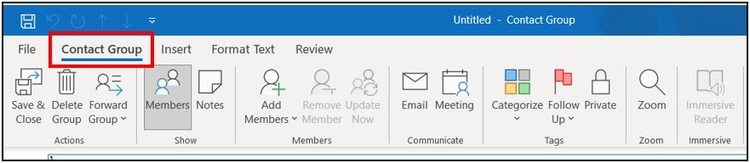
We specify the name of the (Group) in the “Name” field, and then we choose “Add Members”.
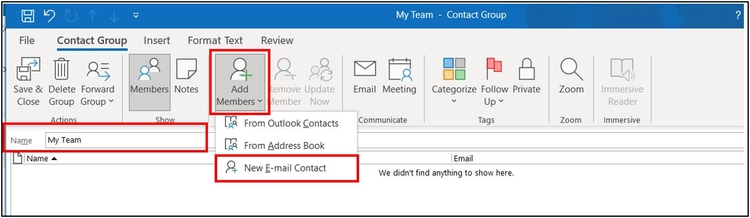
Here we have three options:
- First, the first option: Contacts in Outlook itself.
- Second, the second option: Contacts in the “Address Book” in the case of companies.
- Third, the third option: Add new contacts.
In our example, we will assume that we have new emails and choose the third option.
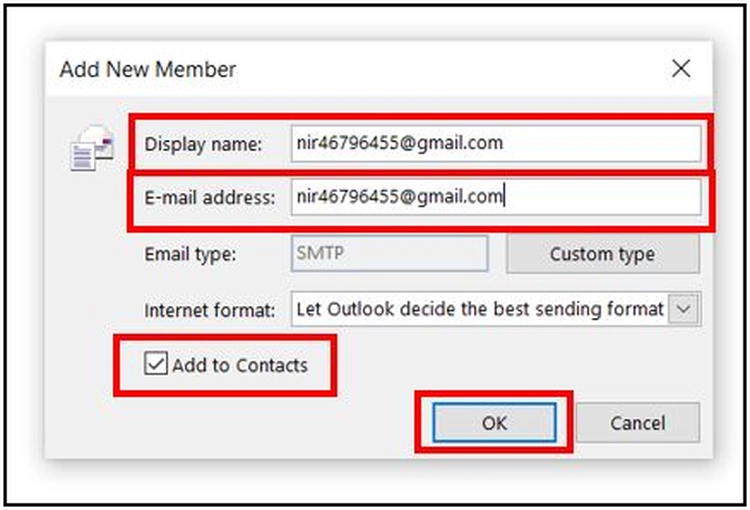
We add the first email from the email group, and in the second box we put the email itself.
The “Add to Contacts” option also allows us to add this email to our Outlook contacts.
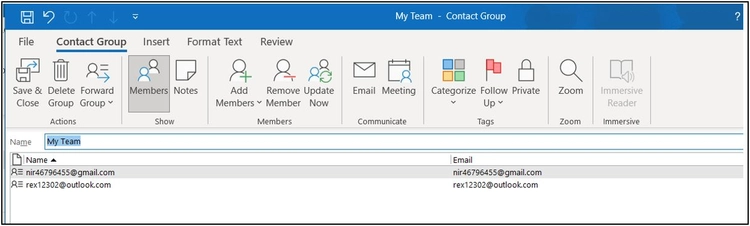
We choose “Ok” and the email is added, and we can repeat the same steps to add a new email.
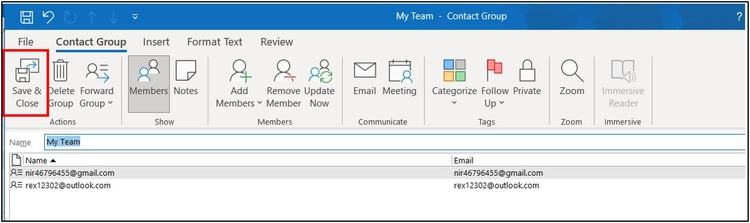
After finishing adding the emails, we choose “Save and Close”.
Options to create a new sending group
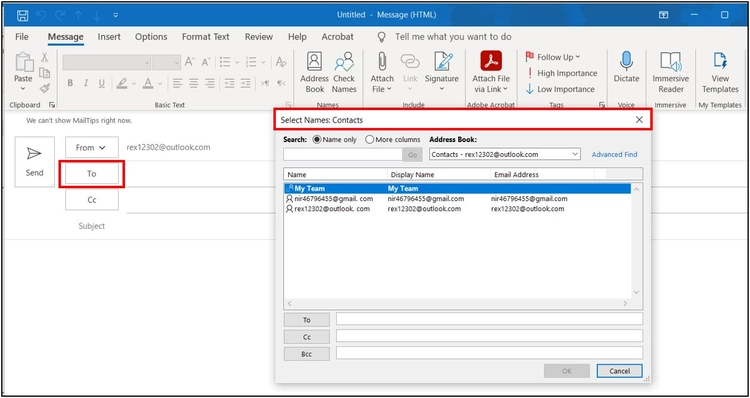
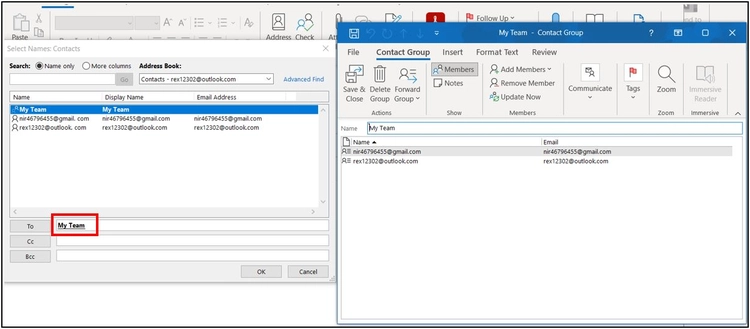
To send a message to this group, simply select “New Email” to send a new message. When we click on the “To” option, the group will appear among the options.
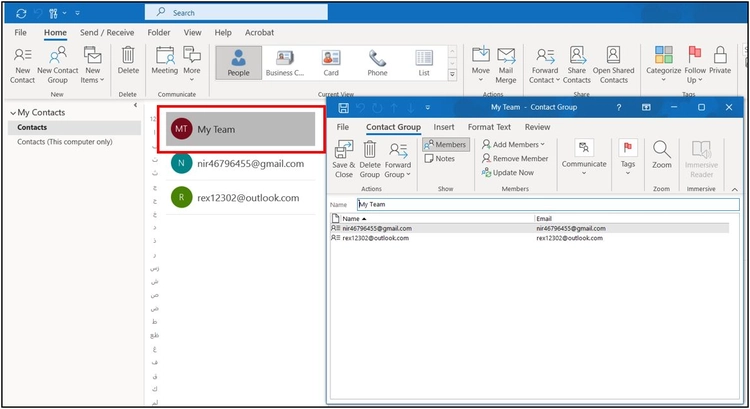
We can also see the emails within it when clicking on the group name.
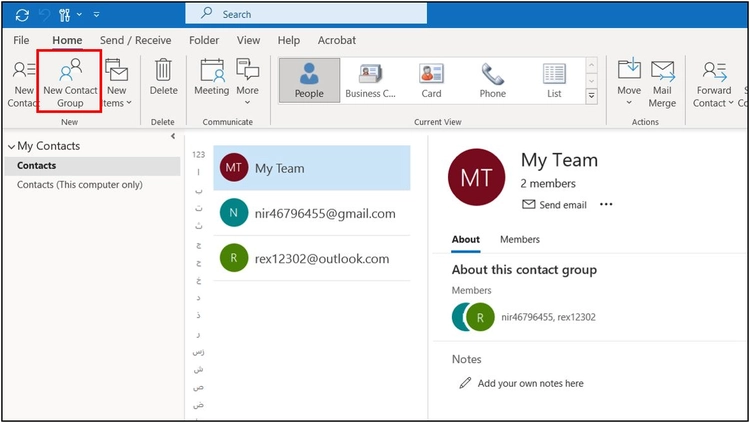
The second way to see the information within the group is the option at the bottom that includes our contacts. When we click on this option, we notice the name of the group we created.
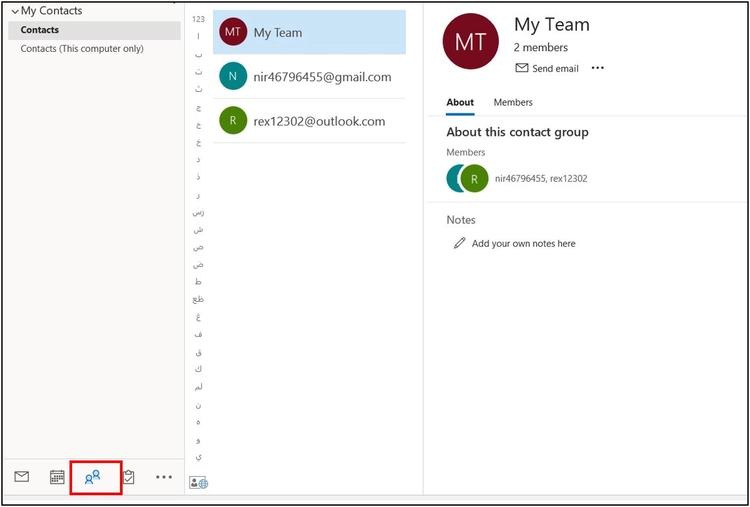
If we click on this name, the emails within it will appear.
In addition, if we want to add another group, we can do so from the top using the “New Contact Group” option.
To modify anything within the group, we can do so by clicking on the group name, and then a wide range of options will appear.
Dear reader, if you liked the article, do not forget to subscribe to our YouTube channel, which provides all new in the field of technical and completely free training courses.
You can also browse our website to access the blog and read technical topics, or learn about the training courses offered by the site.
To access the full course “Outlook Course” on YouTube, click here.