The process of adding a signature in Outlook is one of the most basic operations
when using Outlook to send work emails for companies, institutions or
employers, whoever they are. It proves the identity of the sender and confirms
that he sent the message. In addition, the signature helps to avoid falling
victim to various security attacks such as fraud, for example. Therefore, in
this article, we will learn with a few simple steps on how to add a signature in Outlook.
Adding the signature
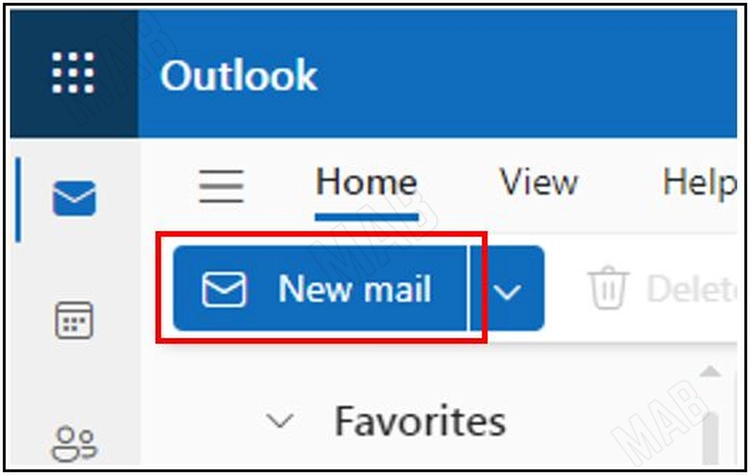
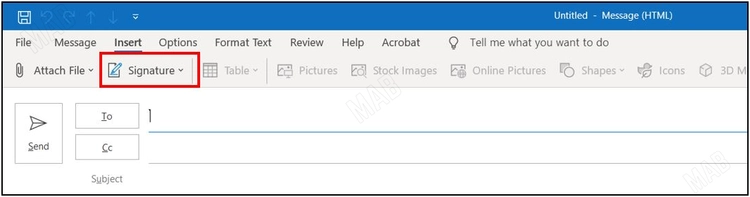
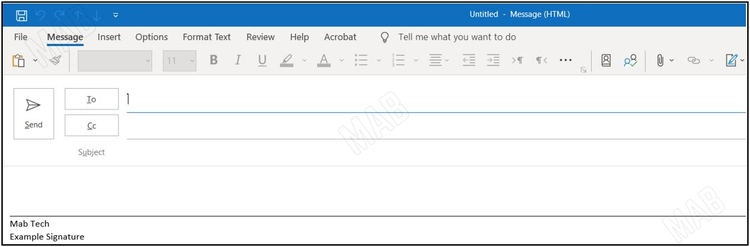
- We press on “New Email”
- Then we select “Insert”
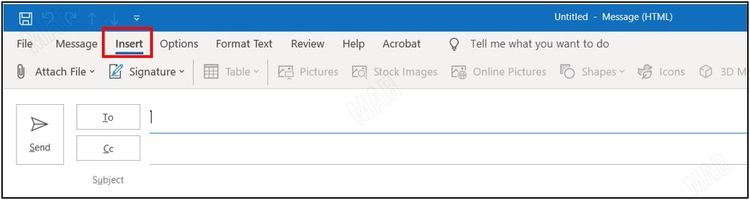
- Then we select “Signature”
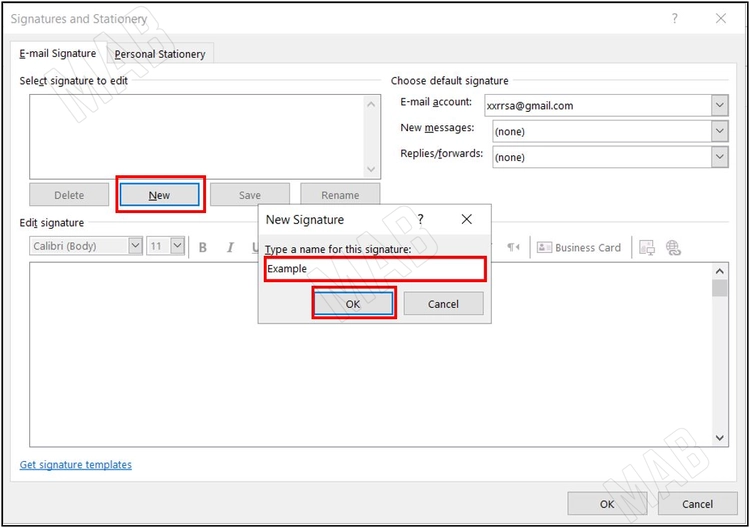
- We choose “New”, we choose the name of the signature, for example it will be called “Example”.
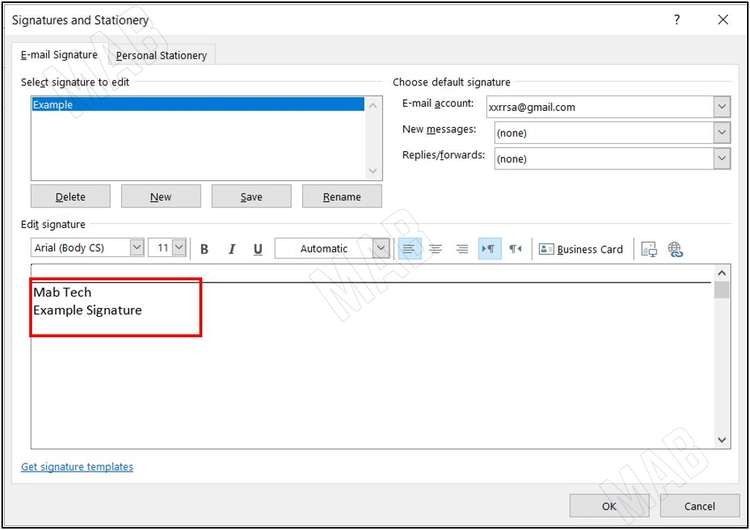
- We choose “OK”, and then we write the actual signature that will appear with the message, and in our example we will draw a straight line (by pressing the minus sign from the keyboard more than once and then choosing “Enter”) and then write the following.
applying the signature to all new emails
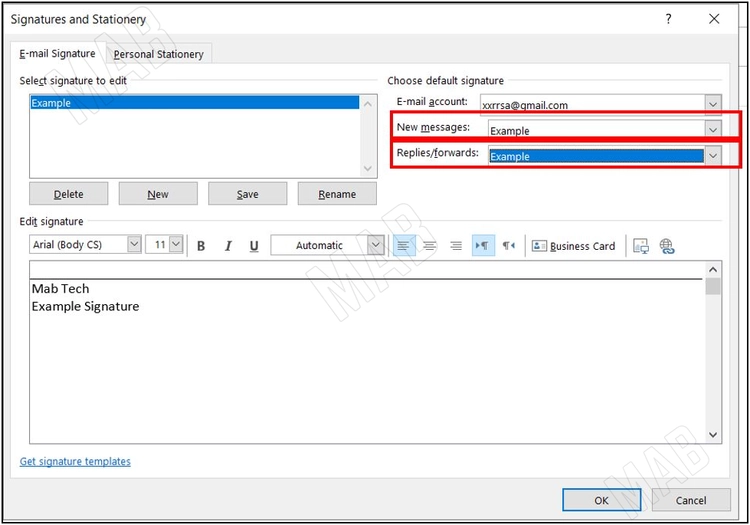
- Next to the option “New Message”, which means applying the signature to all new emails, and from it we will specify the name of the signature “Example”. The next option is “Replies/Forward”, which means that the signature is applied to replies and forwarded messages, and we will choose our signature name “Example”.
- We close all of the above and choose to create a new email, and we notice that the signature has been added to the content of the new message.
You can later change the signature, change the color, add the company logo, or any other modification. Outlook will add everything you want from itself.
Dear reader, if you liked the article, do not forget to subscribe to our YouTube channel, which provides all new in the field of technical and completely free training courses.
You can also browse our website to access the blog and read technical topics, or learn about the training courses offered by the site.
To access the full course “Outlook Course” on YouTube, click here.