The Canva Design Program is a very useful program, through which you can design posts for Facebook, Instagram, PowerPoint shows, and various reports.
We will cover the use of free Canva, you can subscribe to the Canva Pro paid version, but generally Canva free version has most of the features we will need, unless you need to design more professionally, you may need the pro version, because the free version has a large number of templates and photos you can use, and you can invite people to share your design, and they can help you with it.
Access to Canva
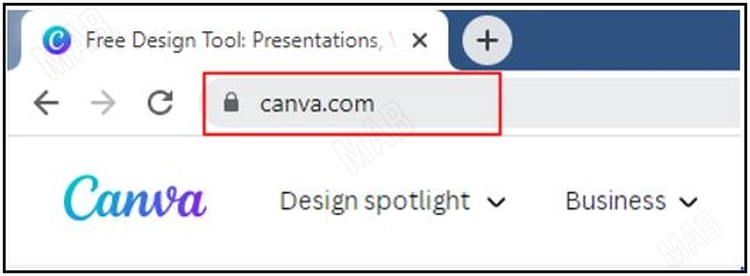
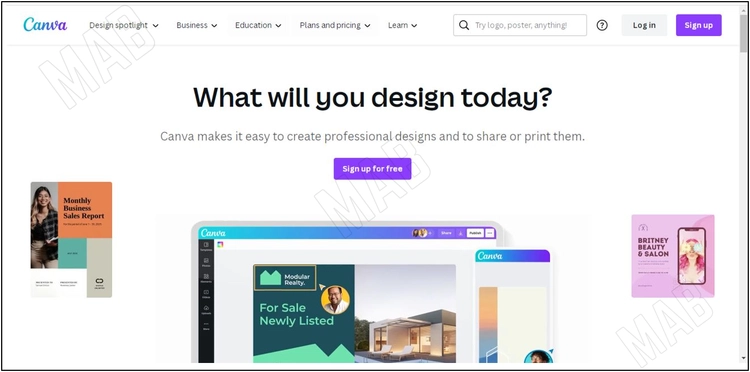
Start we can get to Canva, by searching for “canva.com“.
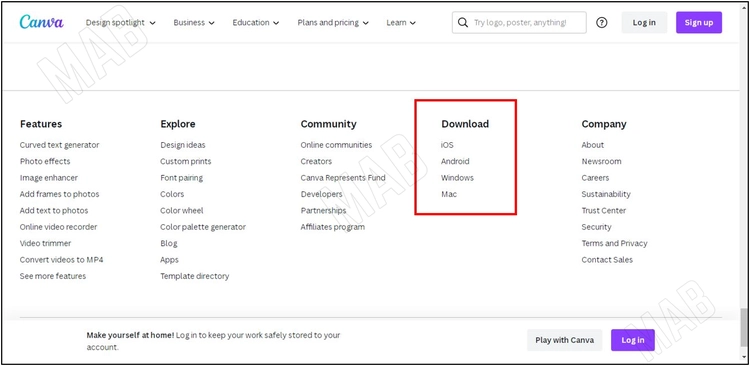
From the end of the page, we can download apps available either on Windows, Mac, or even on iPhone and Android, and you can either use the same app on PC or mobile.
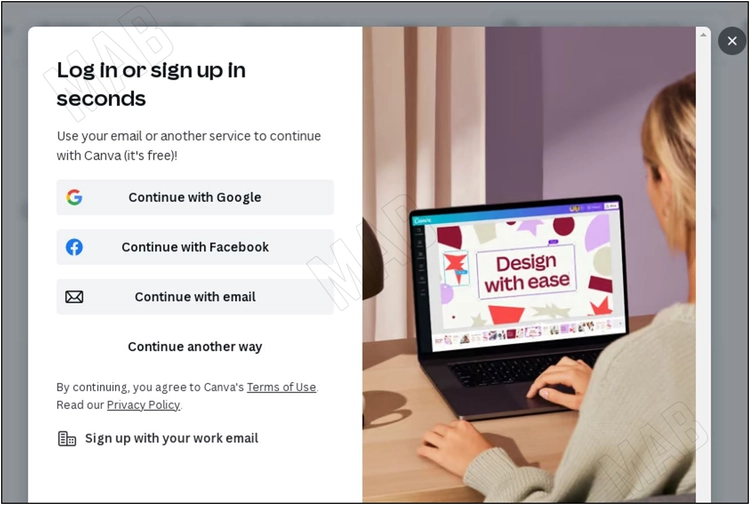
To register on the site, after we open “canva.com” we go to “sign up.”
The login page will appear, and we can log in through Google, Facebook, or any email you use.
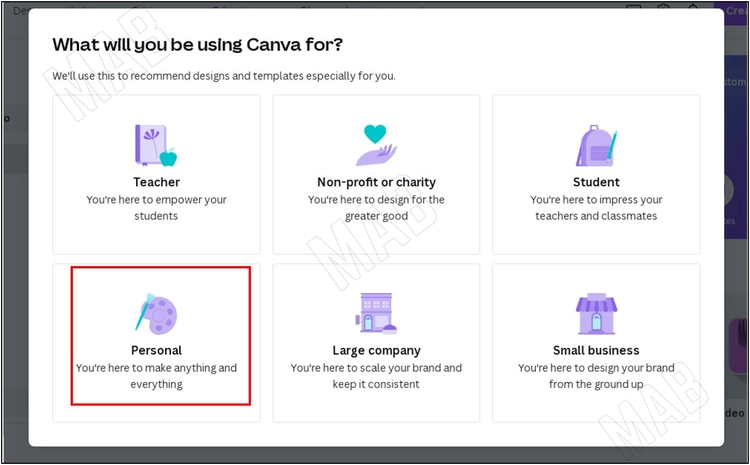
After you have registered, you will be asked how you want to use Canva, so you choose “personal” use.
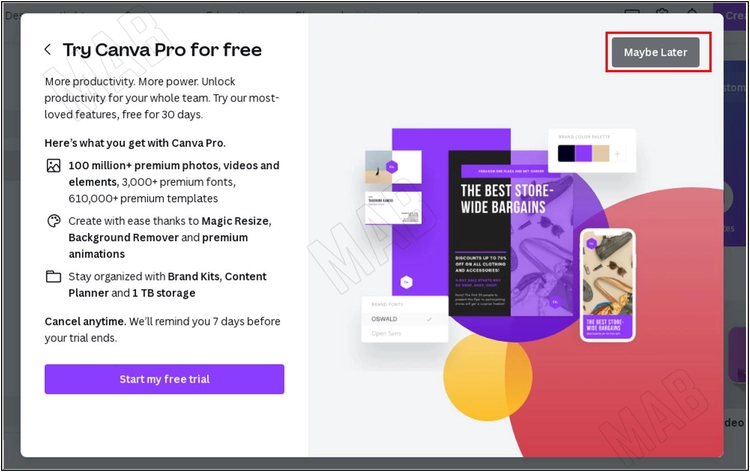
Then they’ll show you the Canva Pro experiment, but now we’ll choose “maybe later.”
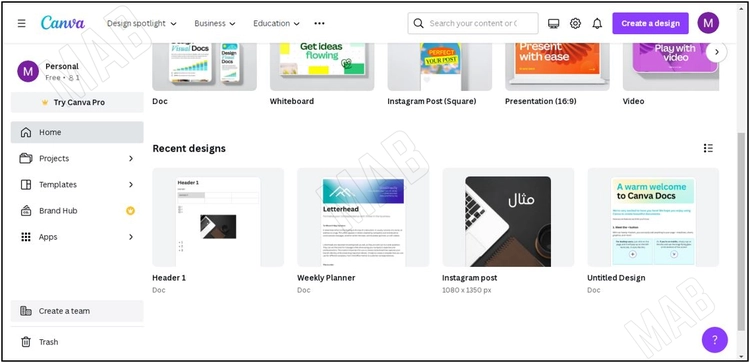
Then we’ll be on Canva’s home page.
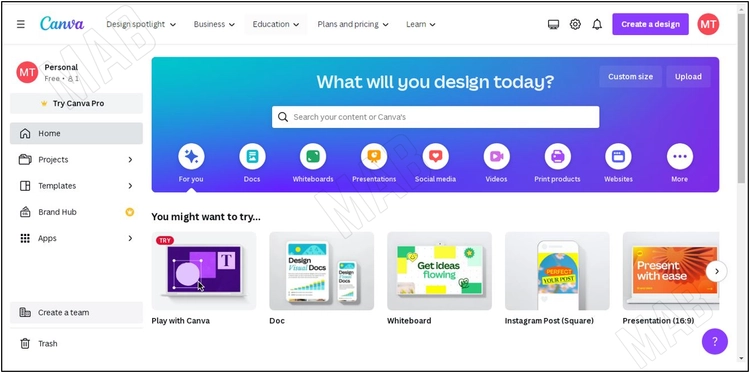
Home Page in Canva
On the home page, you can search for any type of post, or size you want to use, and it will give you different examples, such as if you want to design for my presentation or PowerPoint, you can use the required size for this type, which will help you select existing sizes, as well as we can make edits to videos located in Canva, Logo, CVs and others.
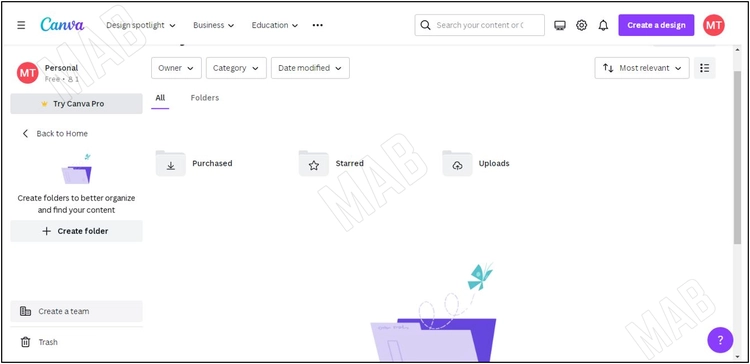
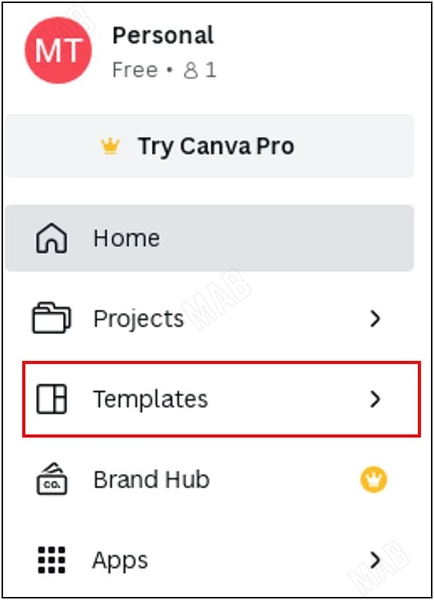
If you have previous projects you have worked on, from the list to the left of the page you will press “projects.”
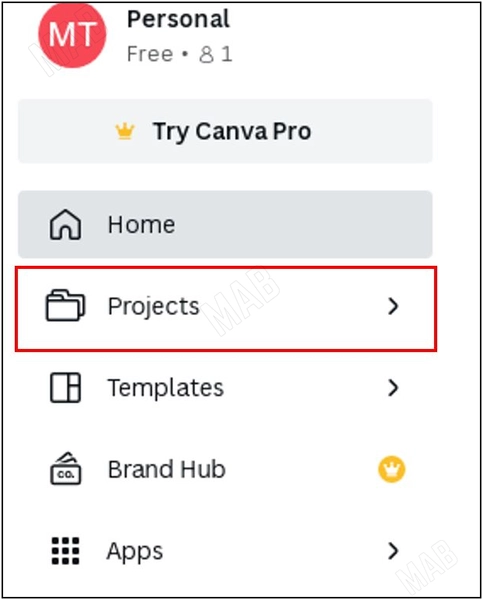
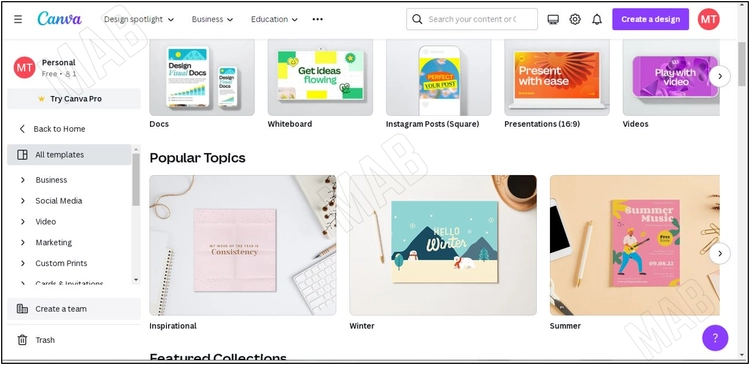
It will give you a list of all your previous projects, and to return to the home page, click on “Back To Home.”
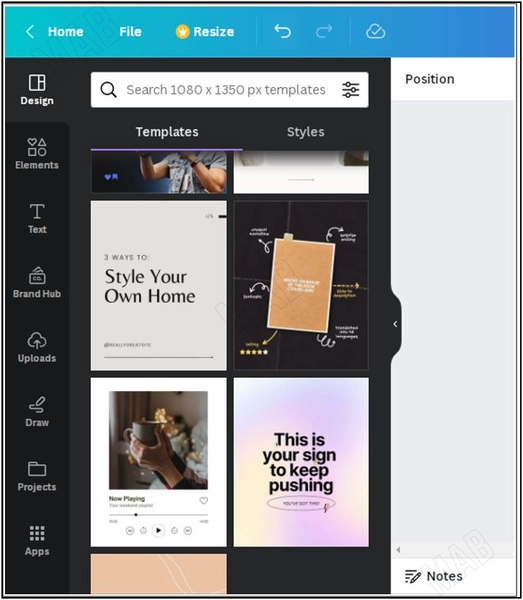
You can view the different templates that currently exist and that you can use from the “Templates” menu.
If you know exactly what you want, you can search the designated place, for example, if we want the “Instagram” templates we will search for them.
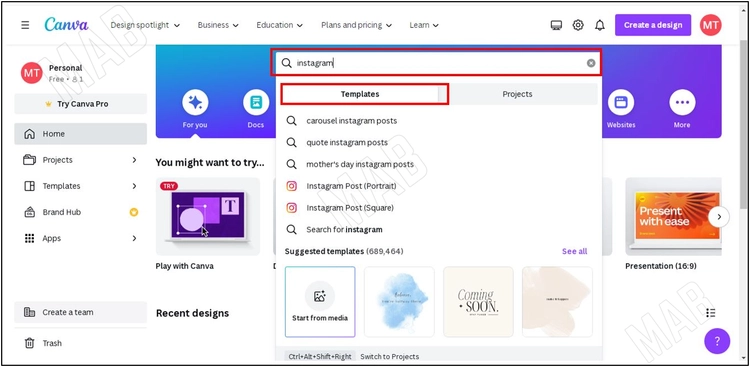
A list of different templates available will appear.
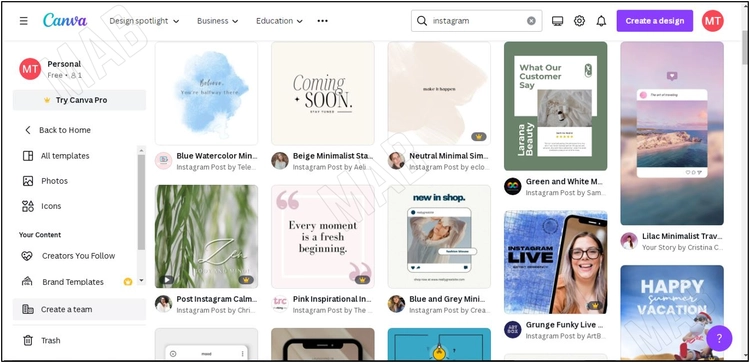
As mentioned earlier, we use the free version, there are some options on which there is a Pro sign, and we must have the paid version to be able to use it.
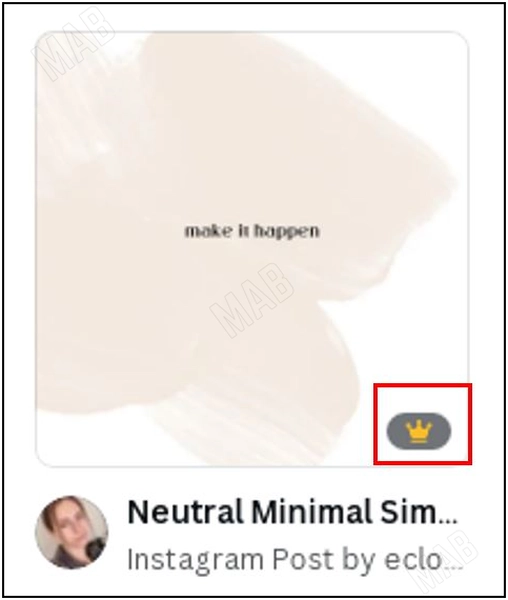
There are a lot of templates that we can use, and don’t mark Pro, if we press one of the templates of the paid version, the option “use this template” will show us.
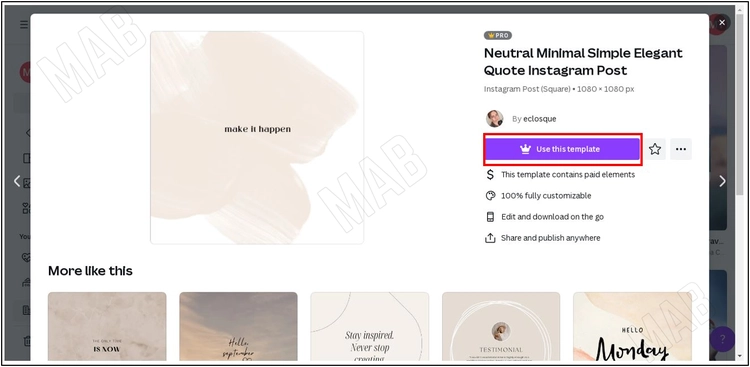
Image design on Canva
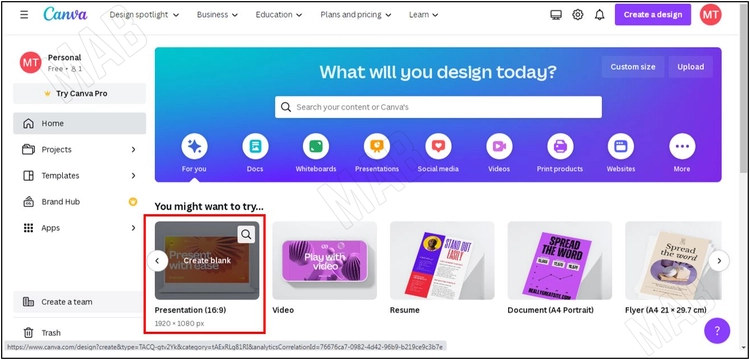
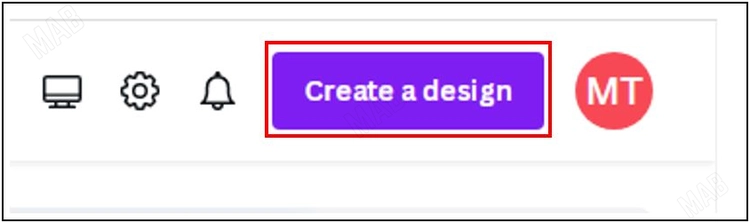
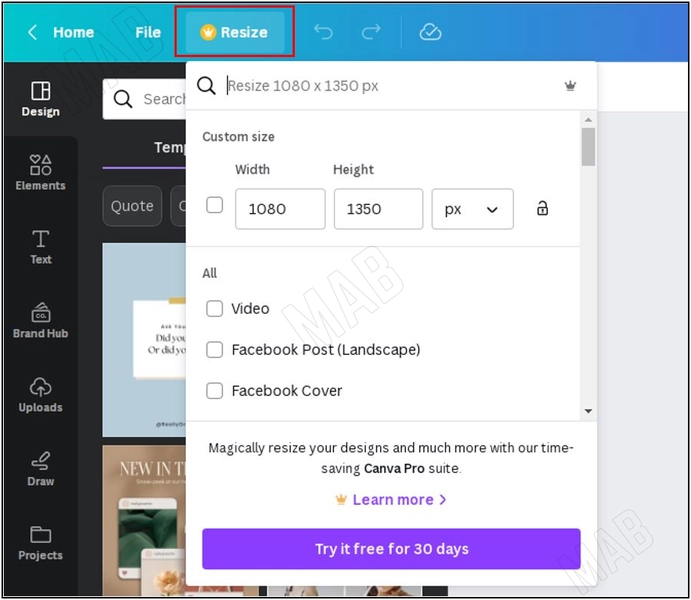
If we want to start from the beginning, at the top of the page we choose “create a design.”
We press “Instagram post”.
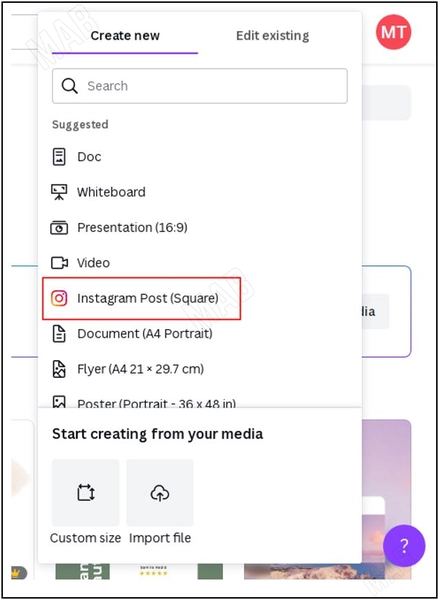
Or you can search for “Instagram,” and you will show us different types of Instagram, for example, the option of an Instagram post will be square (1080 × 1080), or rectangle (1080 × 1350).

When we choose one of the options, we will go to his design page.
When choosing sizes make sure to choose the right size, if you are using the free Canva, since resizing is a feature of the Canva Pro properties, you can only use it if you have a subscription, so you must choose the right size from the beginning.
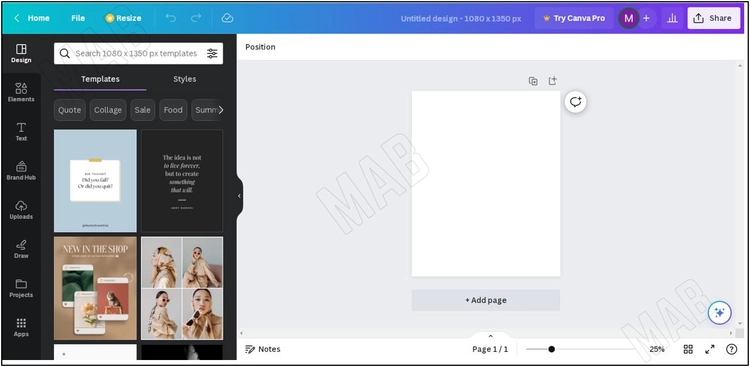
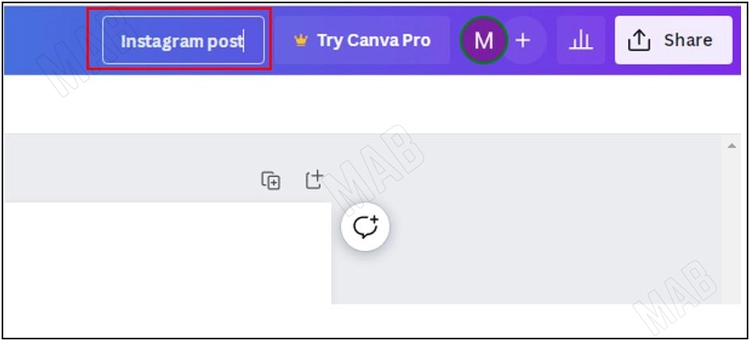
At first, we can determine the title of the new project, then we can find it on the home page with the name we chose.
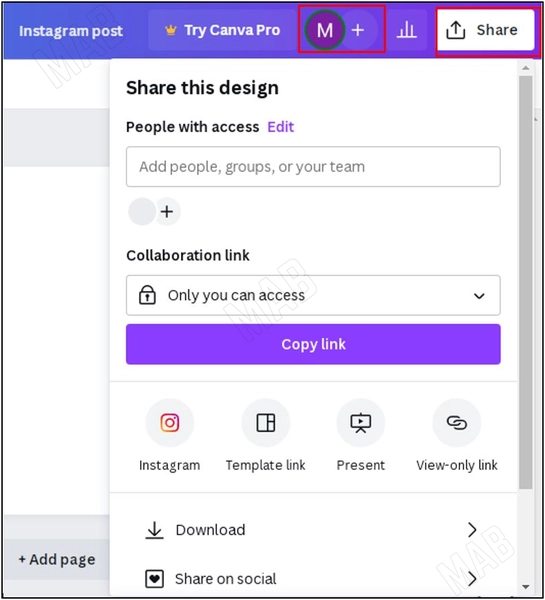
We can identify the people involved in this project, currently, there is only me, but you can share it by clicking “share” and identifying anyone you want to participate in the design.
Choose a templet
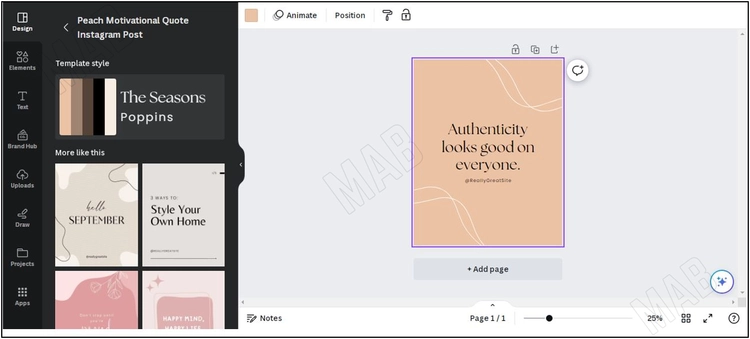
In the left menu “Design” you will find the different templates you can use, in case you want to take an idea from the different posts you can use.
For example, if we choose one of the templates, it will open it in the basic form we chose, and within this template, we can change all the details that exist.
In addition to moving the lines, we can change their color through the option “Color,” it will select the line and we can change its color for any color we choose.

Also, if we select the text, the font currently used, size, and speech color will appear to us if we want to change it, as well as the thick font option “Bold” and other options.
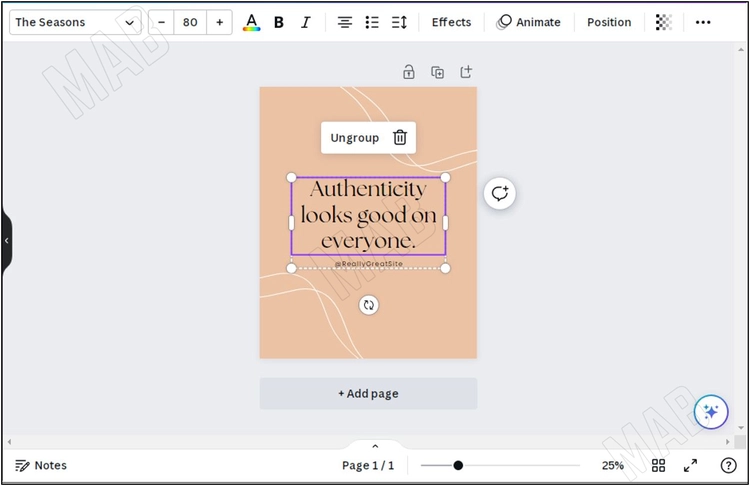
A lot of fonts you can use if you write in Arabic, we press the same font name, and we can then look for the different fonts you want to use, we can write in the search “Arabic” and the different fonts we can use will show us, you can choose the right fonts for the design from a lot of options.

If you want to retract any step, you can by clicking on “CTRL + Z” refer to the previous step, and cancel the amendment you made.
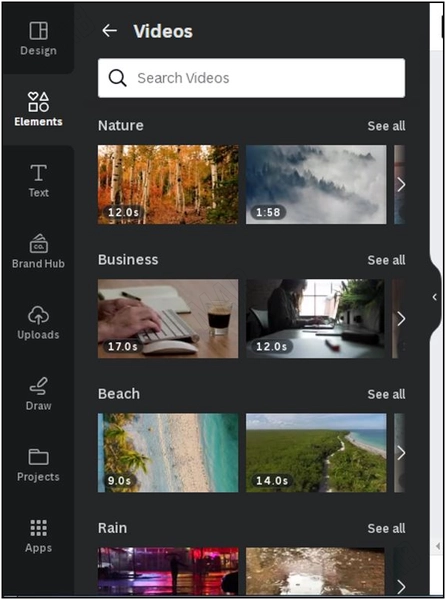
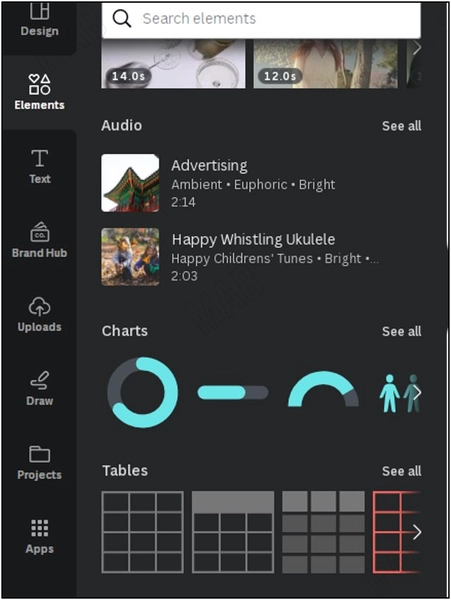
The following feature is “Elements.” If we squeeze it we can display the different characteristics that we can add to the design. Lines, stocks, or different graphics that exist, or even existing images.

If you want to view more examples of each of the previous options, this can be done by pressing “see all”.
Customize templets
Where you can view a lot of options, you can also search for a particular option. In addition, you can add sounds to the video, and charts if we need them.
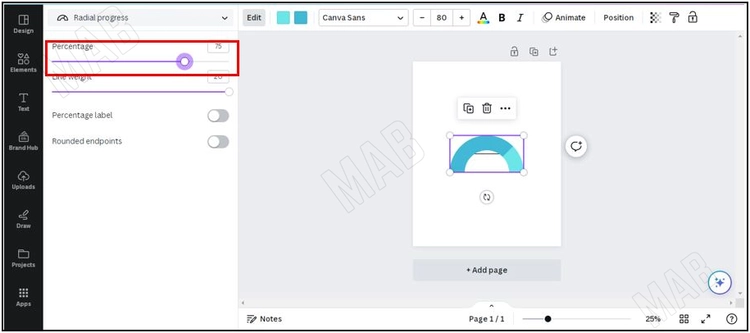
If we select one of the charts and put them in the design, the ratio of the existing chart can be changed by moving the indicator.
As well as different characteristics, such as drawing colors, can be changed by pressing them in the list of options, color can be changed to any color we want. In addition, it will display all existing or used colors within the current design.
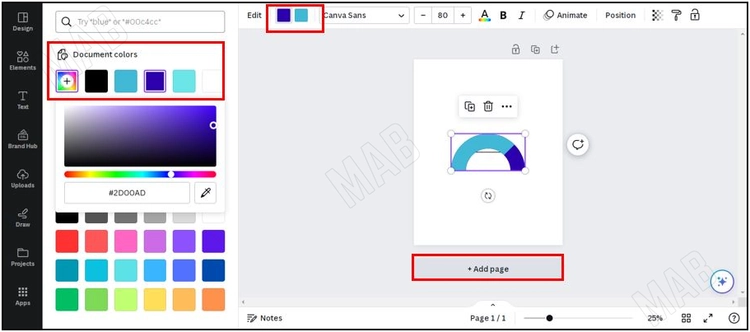
We can add several pages to the current project, by clicking on “Add page” and it will add a new page to this project, and then we can use the same colors used on the first page easily.
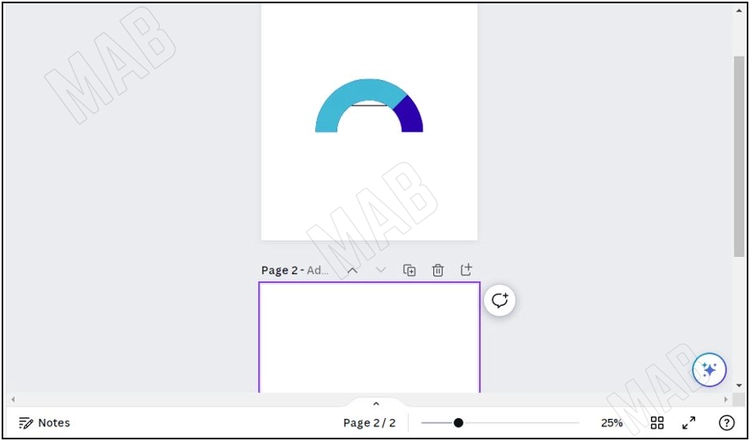
We can zoom in on the project page, by hitting the “CTRL” button and using the button in the middle of the mouse to zoom in and out, or through the zoom option down the screen.
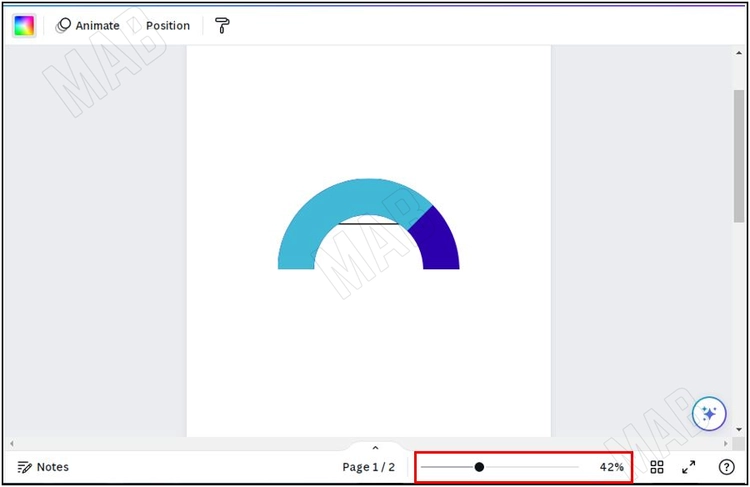
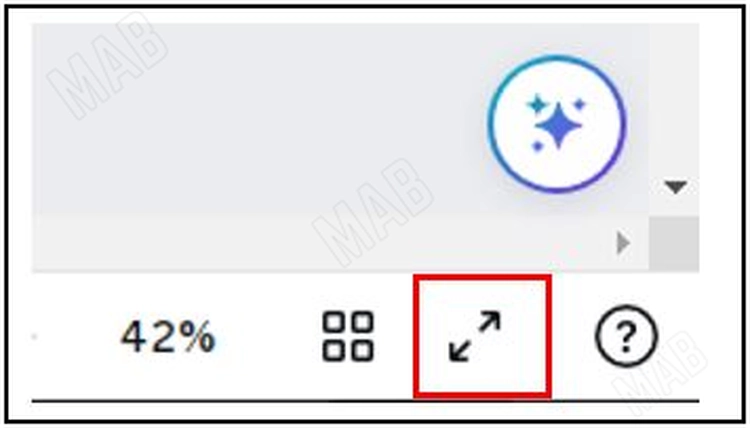
You can also zoom on a full page through the arrow signal.
Or the “Grid view” option that will see us complete the project in one place.

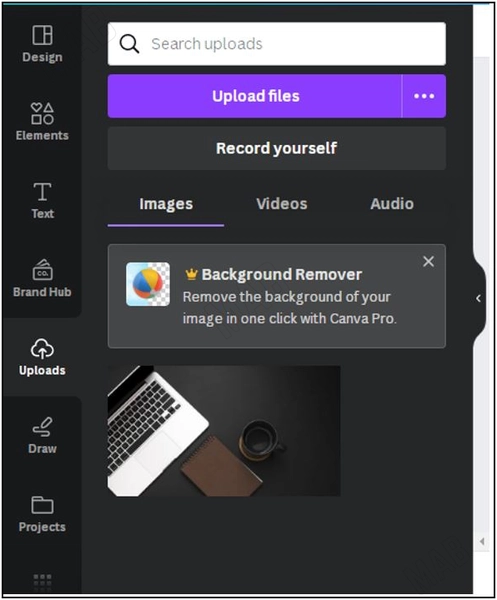
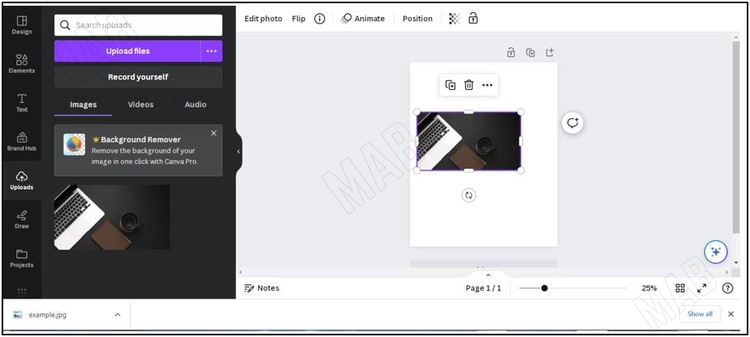
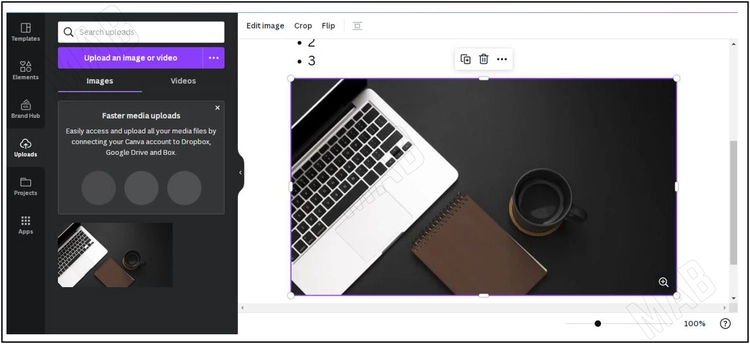
The next option from the list of options on the left is “Uploads,” for example if we want to upload any image we have on the desktop or elsewhere, we drag and drop it in the designated place.

Upload files
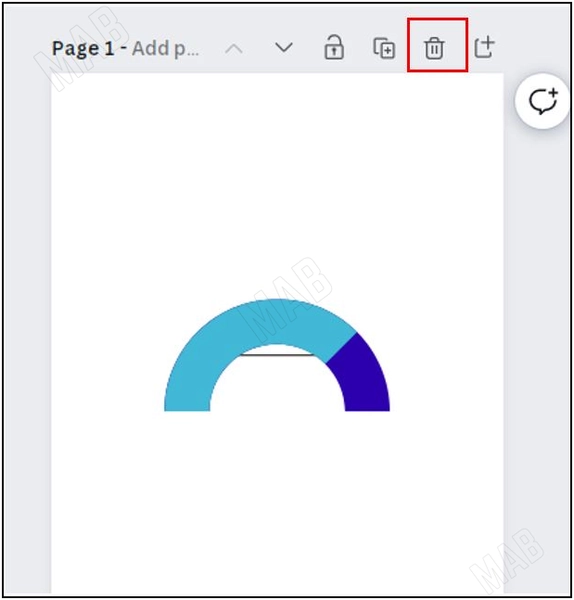
Before I upload the image I can delete the previous page by clicking on “Delete,” it will delete it and view the next page we added.
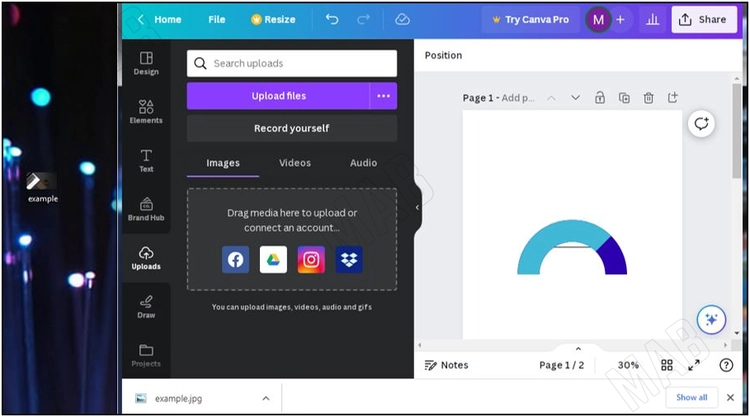
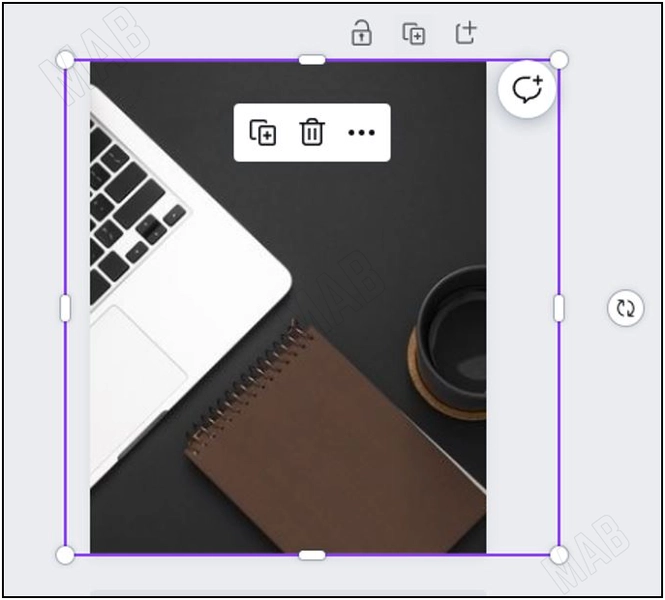
To add the image, we drag it and put it inside the page.
Now we can adjust their size as we want.
Before I upload the image I can delete the previous page by clicking on “Delete,” it will delete it and view the next page we added.
To add the image, we drag it and place it inside the page.
Now we can adjust their size as we want.
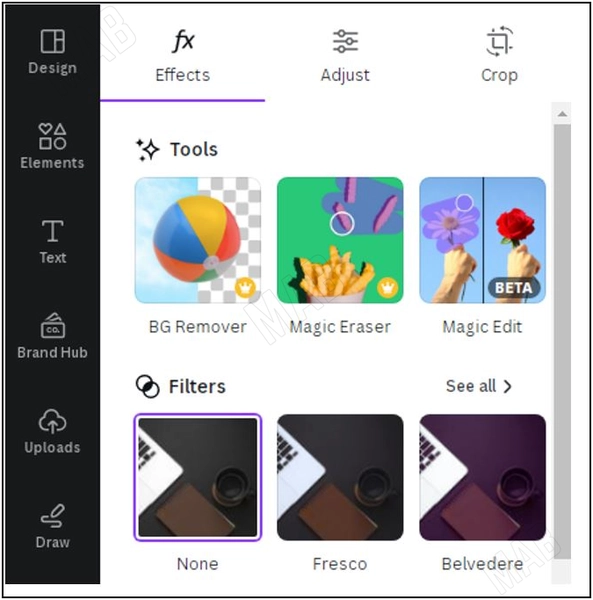
Edit photos in Canva
If we press the image, then the option “Edit photo” will show a list of different characteristics that we can use and edit the image with, for example, adding certain effects, and if we want to undo these effects, we press the option “Remove” for the last effect, and we can go back on the home page.
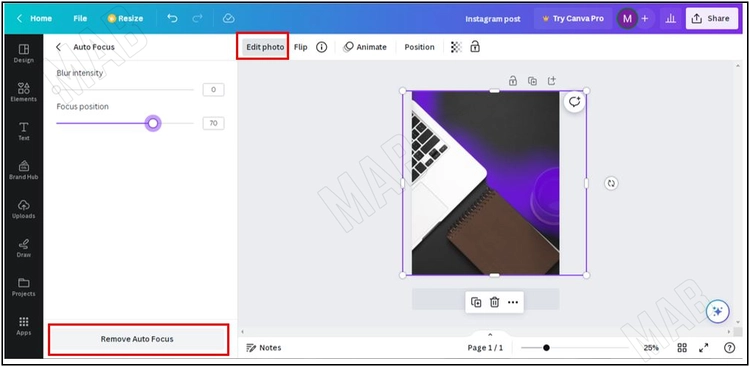
We can in Canva Pro, remove the photo background, and many other properties that we can use.
The next option is text, and we can add different sizes and characteristics of text, for example, we can add the text of the title “Heading,” a smaller title “Subheading,” or a plain text “Body text,” all in different sizes, all of which we can change the size and type of font used in the top options.

For example, if we leave the title text and delete the rest, we note that we can move the text and place it where we want it, and we can also change the text color for any color we choose.
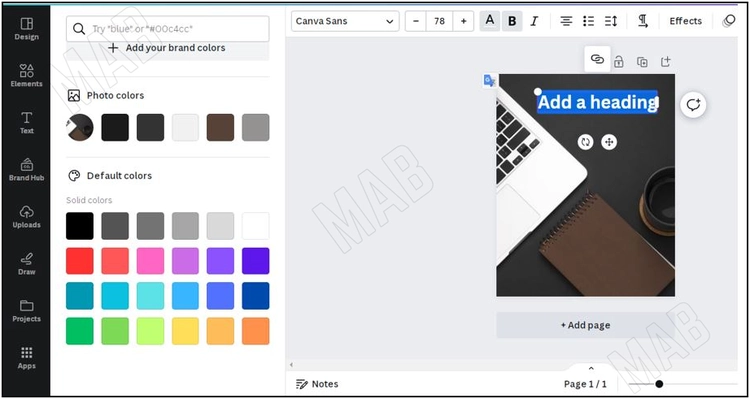
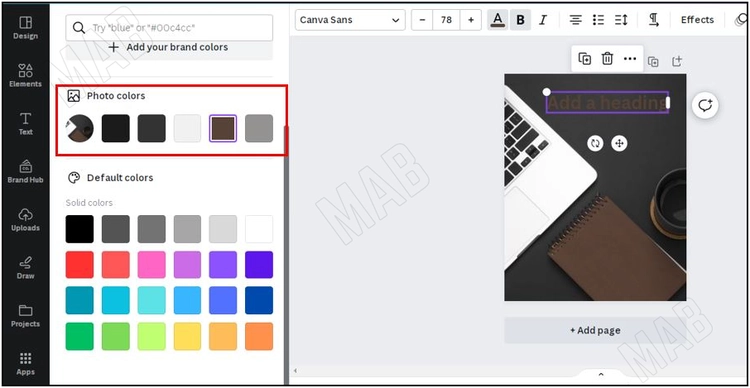
As mentioned earlier, it will show us the colors used in the picture we added, and we can also choose from it, then if we have specific colors that we want to adhere to, we can choose from these colors.
Line adjustment in Canva
When we choose to edit the font, a list of recently used fonts will appear, we can choose between them or look for different options.
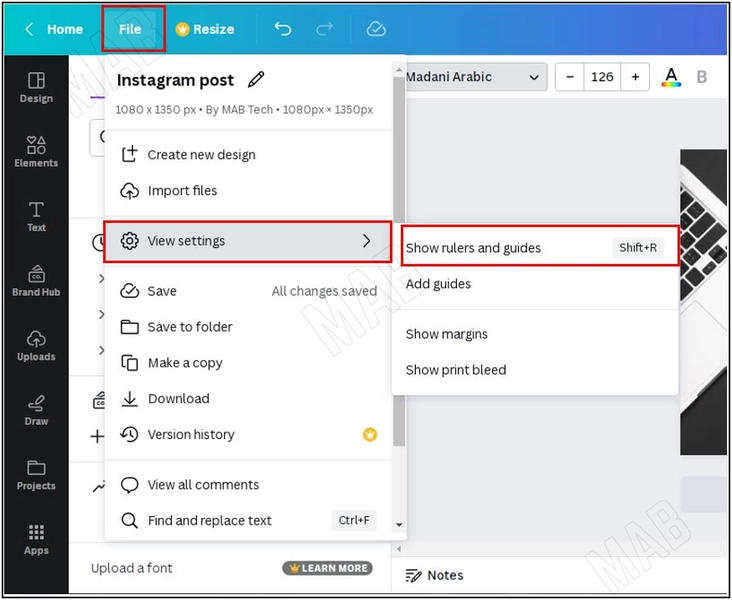
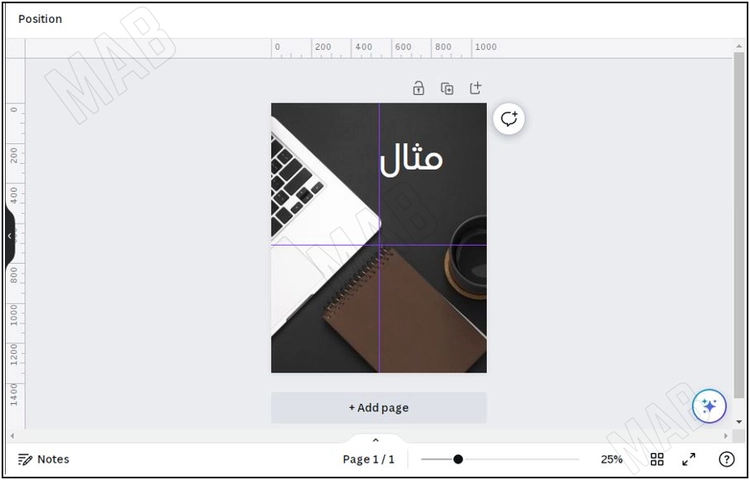
In addition, we can add horizontal and vertical divisions to the page, from the list “File” by choosing “view settings” and then “show rulers and guides,” to help us if we want to change sizes, or adjust some elements, by dividing the image into equal sections, this will help design.

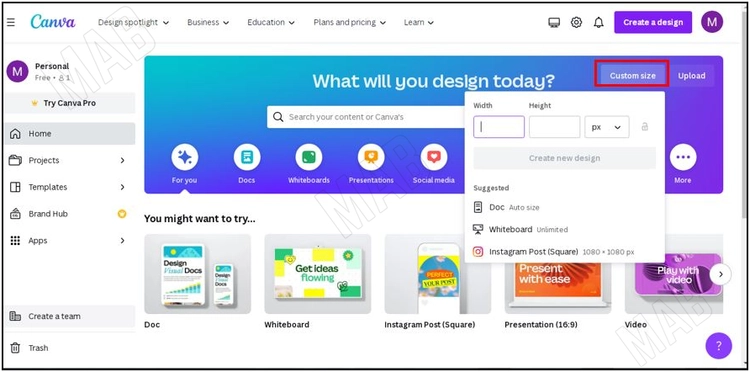
Back to the home page, if we have a certain size and we want to use it, we press “custom size” and determine the length and width exactly as we want them, to show us the matching options for this size only.
Documents in Canva
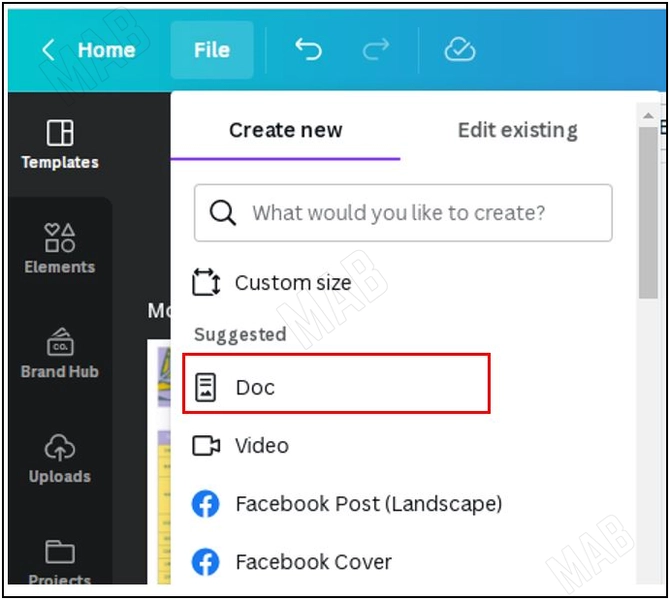
From the new characteristics in Canva, modify or create documents, if we press “Docs” then “Doc”.

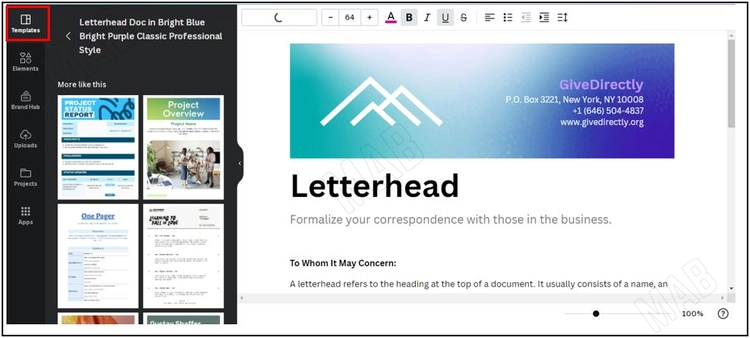
It will start with a virtual design, but we can press “Templets” and display the different templates after we press “See all”.
When choosing a different template, it will ask you if you want to switch to the previous template, then press “Replacement”.

If we don’t want to use any template, from the list “File” we press “create a new design”.
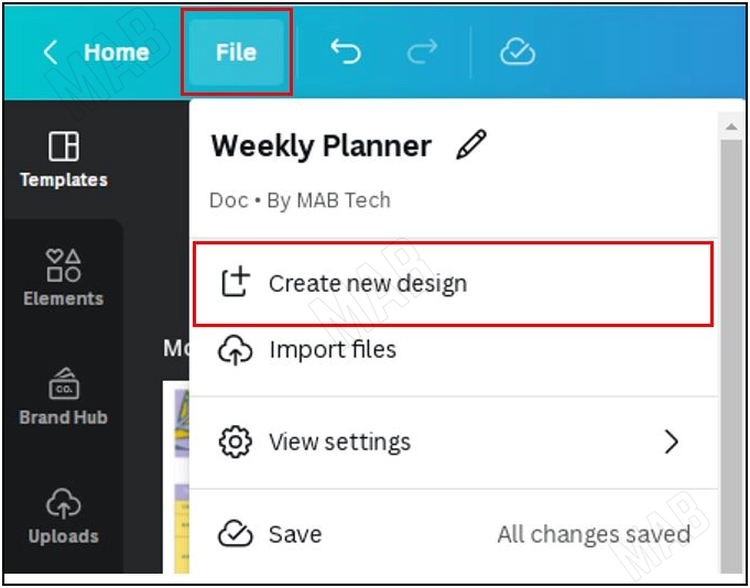
From the list we select “Doc”.
Options for creating a new document
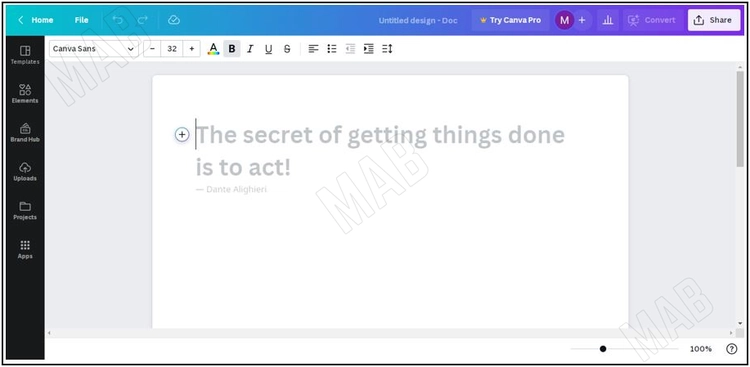
He’ll create a new document, without any writing or anything inside it.

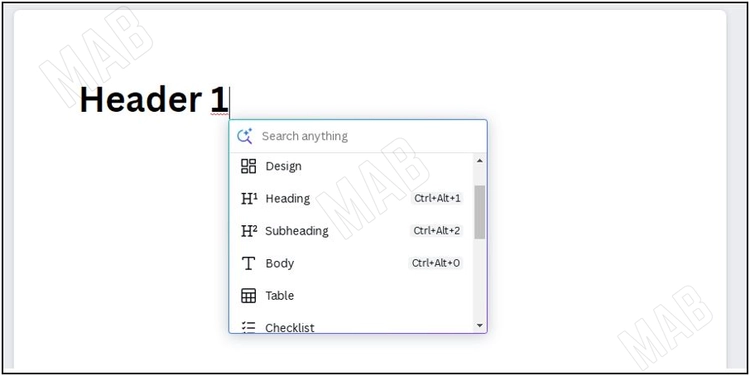
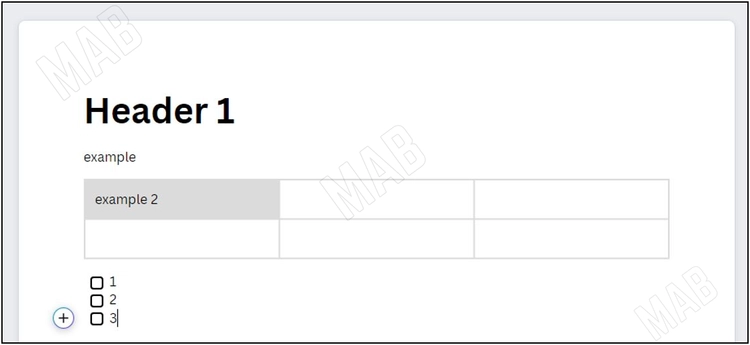
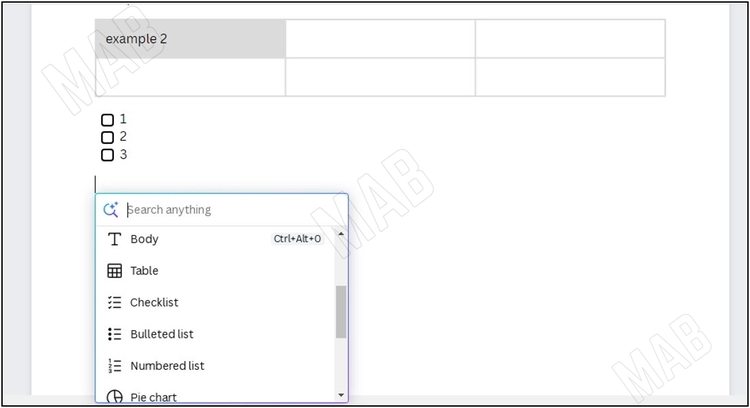
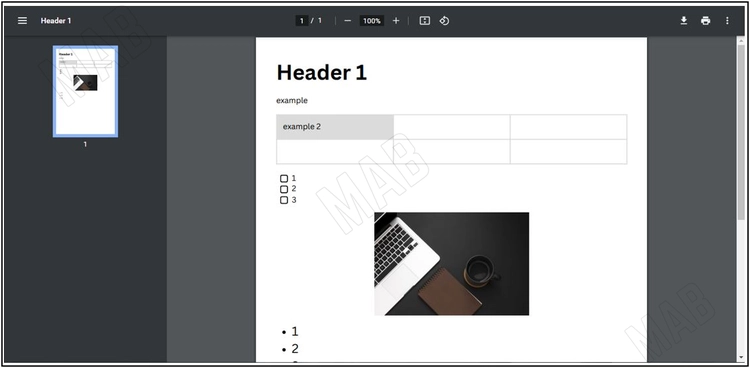
For example, we write “Header1” and through the “+” signal we can view options that we can add as well. Address, mini address, or plain text, also we can add tables or a checklist.

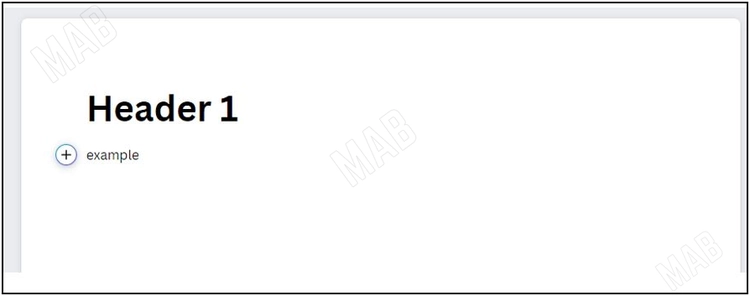
If we choose “body” as the normal text option, we can write the content of the document itself.

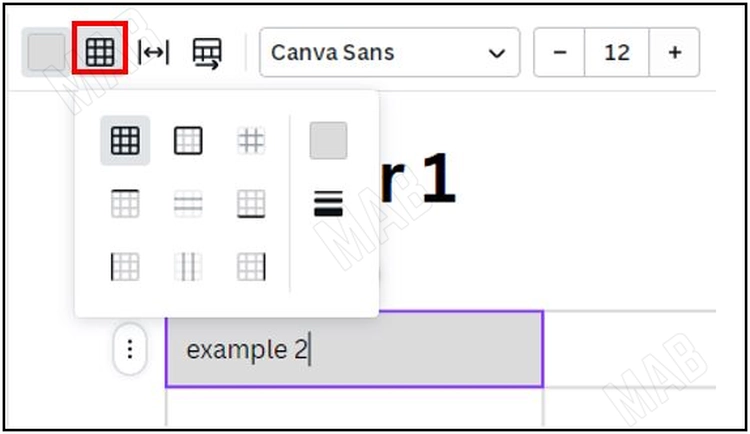
To add a table through the “+” sign and then “Table,” we can determine how many lines and columns we want.

As such, we can add the table content we want.
We can also fully adjust the limits of the table.
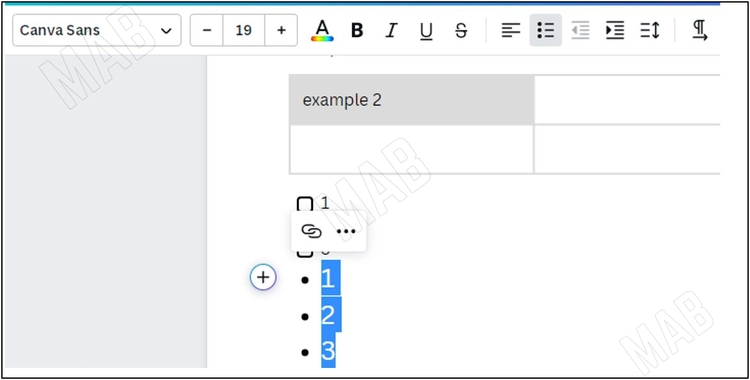
you can also add a checklist by clicking on the + tag and selecting “checklist”.
We add the list we want, and when we finish we press the “Enter” button twice, and we can use it as a simple checklist.
Add new items
From the “+” tag we choose “Bullied list”.
In the same way, we add a set of items.
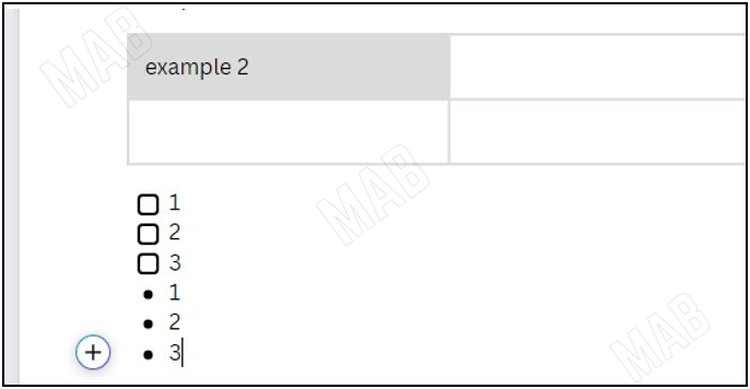
If we specify on any of the previous lists, we can change the specific size and color.
We can use the image we have previously uploaded to the current document in this form, as well as modify its size and location.
We can use the image we have previously uploaded to the current document in this form, as well as modify its size and location.
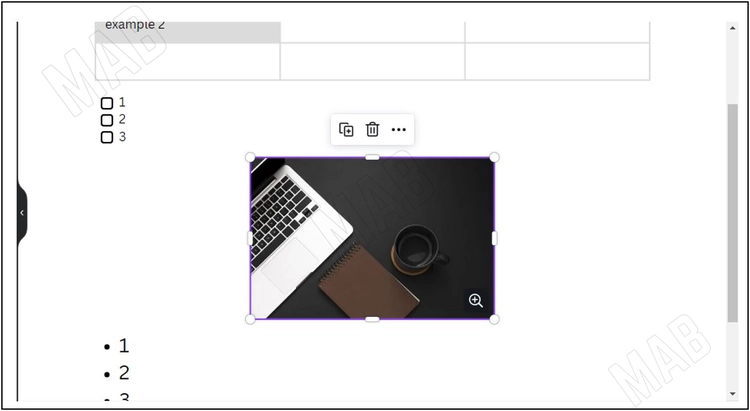
Notably, each part of this document is separate, for example, if we select and upload the image, it will take its place between the lists.
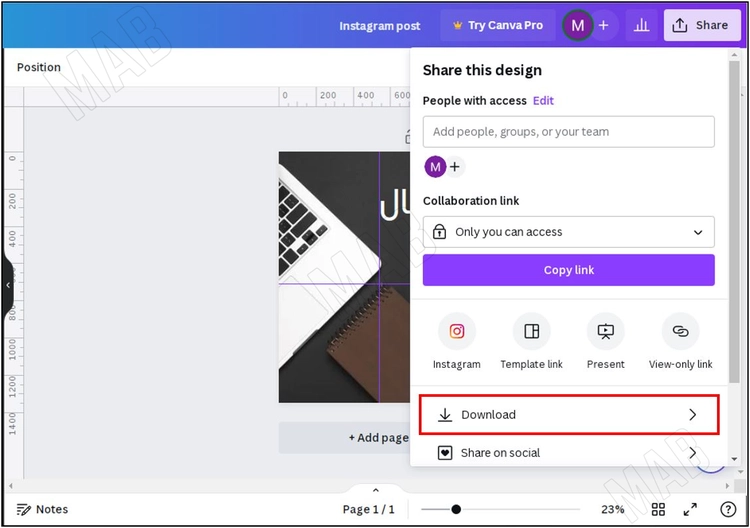
If you want to share this document and work on it jointly, you can by clicking on “share” and selecting people to edit it, or we can upload it when finished, by clicking on “Download”.
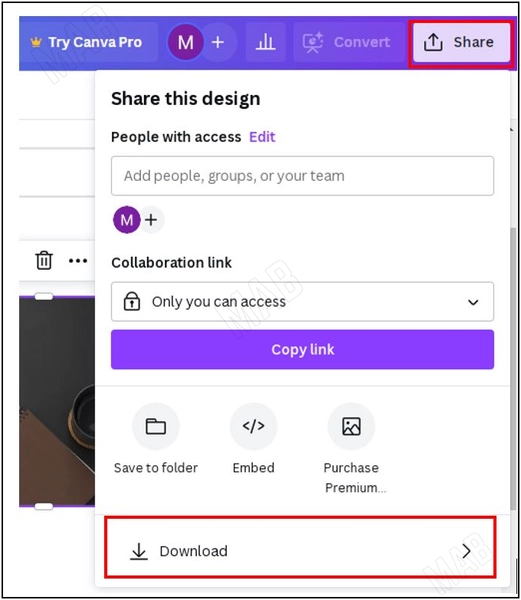
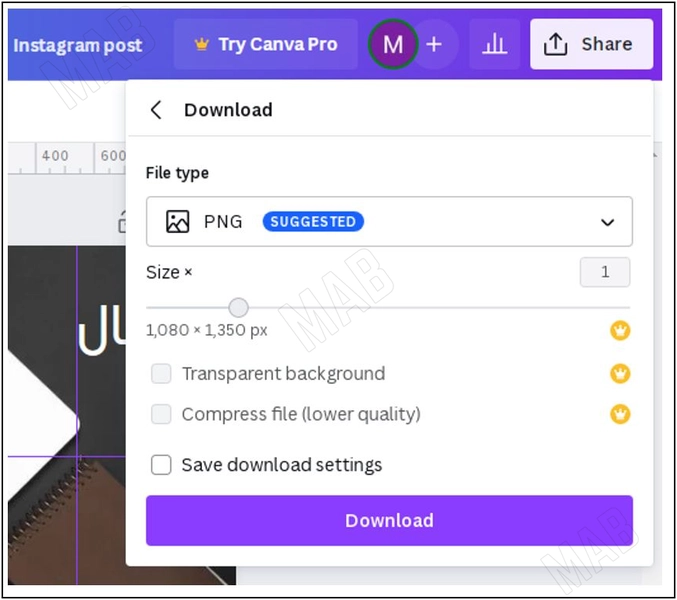
It will be uploaded as a PDF, so no one can edit it.
Back on the homepage, we will see all the projects we have worked on.
Design export options
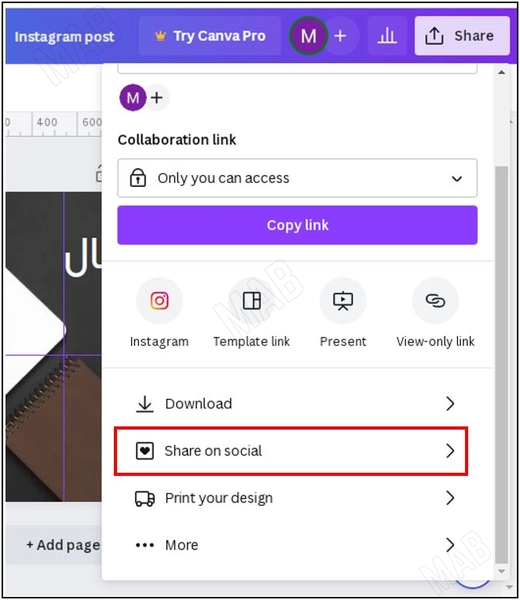
If we go back to the previous Instagram photo, press “Share” then upload the photo.
The size of the image will be determined. We can also choose the formula we want.
Then a window will appear displaying the loading process.
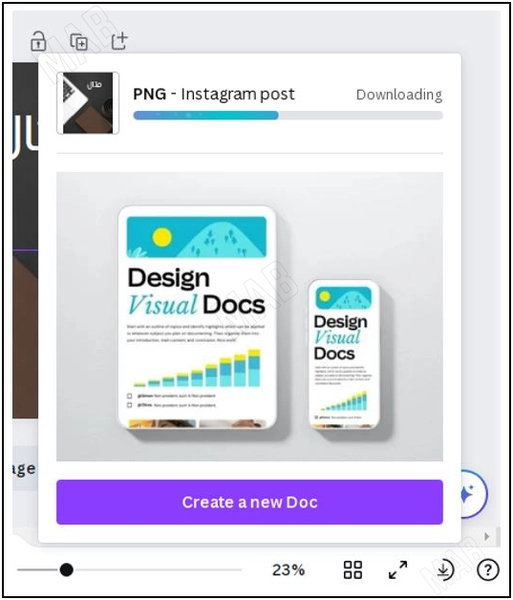
And when you finish, we see the final output as a picture.
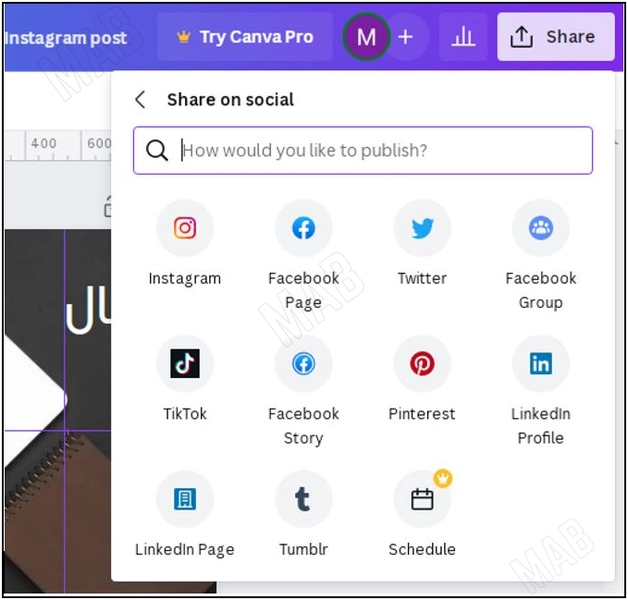
We can also share this photo directly on social media from Canva himself, through the option “Share on social media”.